

We've just released our new women's pattern, the Linnéa top. This is a fitted top for knit fabrics. Maybe you've taken a look at the size chart and realized you want to try out a Full Bust Adjustment (FBA) or Small Bust Adjustment (SBA) on Linnéa (or another dartless knit bodice), well then you've come to the right place!
If you want to you can start with reading our Introduction to Bust Adjustments.
There are so many different methods for doing FBA's and SBA's. Here we'll show you a pivot method that we like. In a separate blog post we also show a quick cheat version of FBA/SBA.
If not, let's dive right in! Follow the first 4 steps whether you're doing the FBA or SBA.
1. Which size to work on?
First, let's determine which size to do our adjustments on. Take your high bust measurement and add 5 cm (2"). Choose the size that has that body measurement for full bust (not finished garment measurement). In our example we're using size 38.
Are you unsure about how to take upper bust and full bust measurements? Read our guide here.
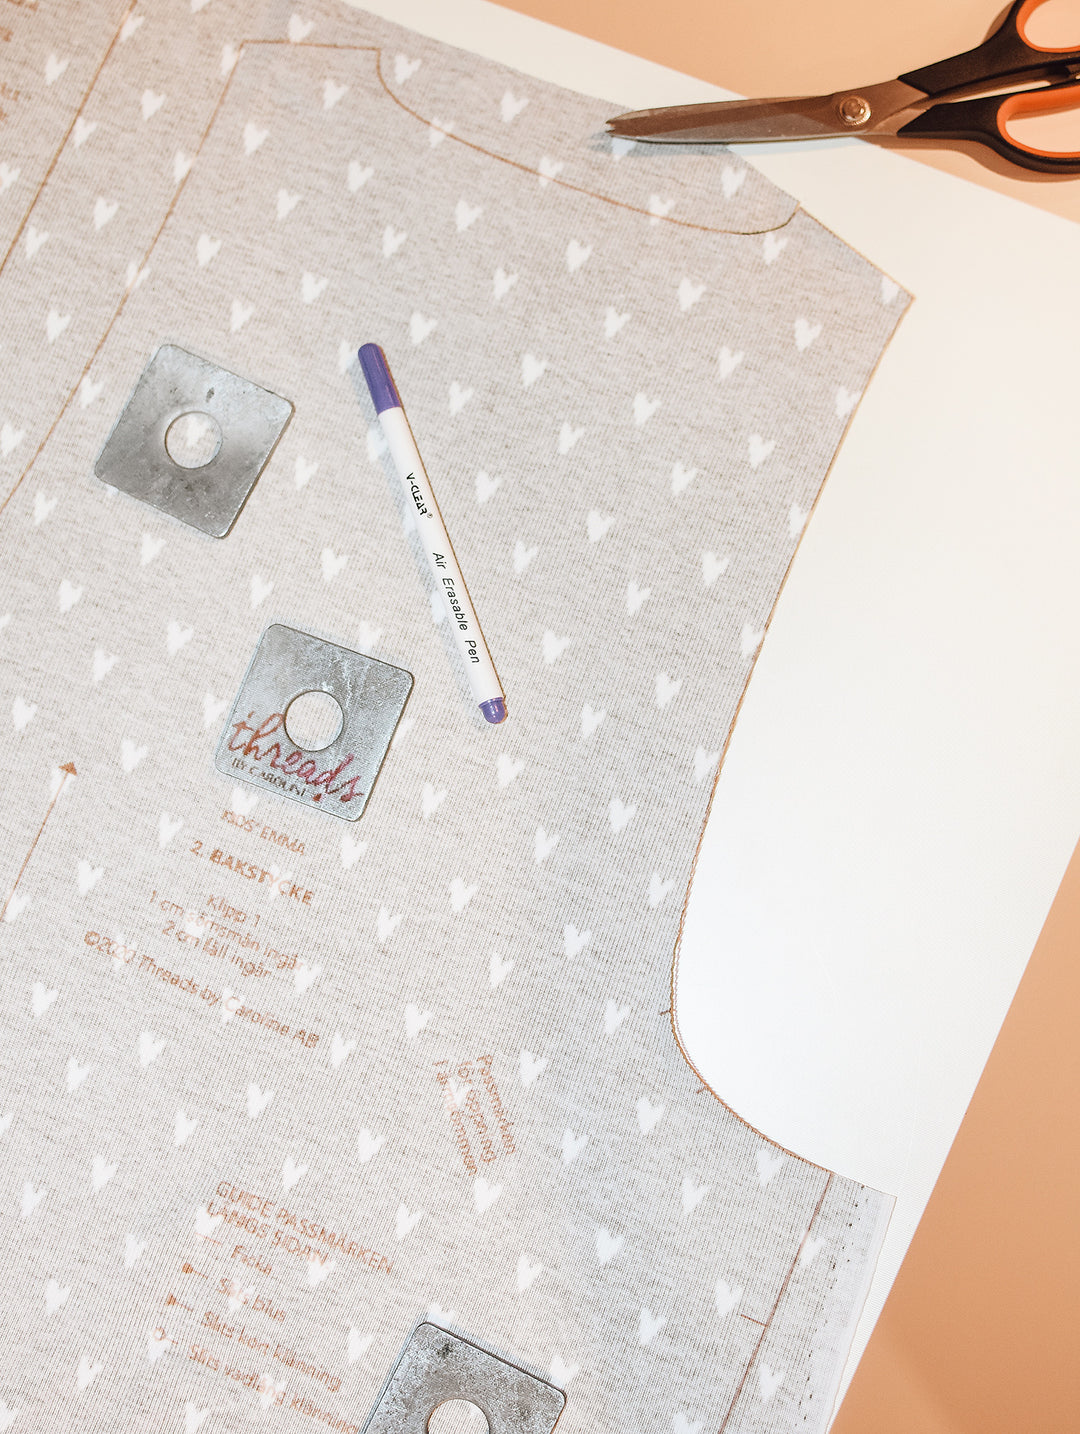
Trace your chosen size onto a tracing paper or other paper.
2. Find your bust apex
There are several ways you can do this. Some advocate holding up the pattern piece in front of you and marking your bust apex directly on the paper. This might work for woven bodices, but here we've got a knit bodice and we need to account for stretch.
Therefore I recommend to put on a fitted jersey top and mark your bust apex with masking tape.

Then take the top off and transfer the marking to the pattern piece.

3. Draw 3 lines
3A. Draw one line parallel to the ‘Place on fold’ from the bust apex down to the hemline. (The dot is our marked bust apex).

3B. Draw a second line from the bust apex to the arm scye, approx. 1/3 up from the arm hole. Also mark a point on this line 10 mm away from the armhole (seam allowance).
3C. Draw the third line horizontally from the 'Place on fold' line to the side seam, and through the bust apex.

4. Cut
4A. Now take out your paper scissors and cut along the line from the bottom up to the bust apex and then to the point 10 mm away from the armhole. Snip into the armhole in the opposite direction, stopping just before the 10 mm point, so that the paper is also attached on a small hinge (4B). This ensures that the armhole stitching line remains the same length.
Cut along the horizontal line from the side seam to the bust point, leaving it attached on another little hinge (4C).
We now have three parts of the bodice and in this tutorial we will call them center piece, lower side piece and upper side piece.

FBA
5. Calculate
In this example we've chosen to work with size 38 because our upper bust measurement is 83 cm. (83 + 5 = 88, which is the bust measurement of size 38). However, our full bust measurement is 92 cm. So we will now attempt an FBA and adjust for a fuller bust than size 38 is drafted for.
92 cm is 4 cm larger than 88 cm so we need 4 extra cm. Since the front piece represents half of the front, we’ll take half of that measurement: 2 cm. And now, we’ll take even less since we’re working with a knit garment and need to factor in the stretch. How much less depends on the how stretchy your fabric is. We're gonna go with adding 1 cm.
Note that this is a quite small FBA we're doing in this example. If the difference between upper bust and full bust is only 9 cm as in our example, you could probably get a really terrific result even without a bust adjustment.
6. Pivot
6A. Place a second piece of paper underneath your pattern piece (we're using pink to make it extra visible in the photos). Pivot the two side pieces away from the centre piece at the bust point by the amount that you worked out you need to add (1 cm in our example). Use pattern weights or similar to hold the pattern in place.
6B. Draw a line on your second piece of paper, 1 cm away from the center piece, start in line with the bust apex and continue all the way down to the hem.

7. Close dart and shift
7A. Close the "dart" in the side pieces and and tape them together.

7B. Cut open this line again, but from the apex out towards the side. Don't cut all the way, leave it attached on another little hinge.

7C. Shift the lower side piece towards the straight vertical line you drew (1 cm away from the center piece). Let the two side pieces overlap.

8. Adjust the length
The center piece and the side piece now have different lengths so we need to add length to the side piece. Draw on the second piece of paper.

9. Adjust the waist
9A. Cut off the second piece of paper along the new bottom line.
Finally, we need to adjust the waist, because as the pattern is right now it has been expanded at the waist as well, as you can see below.

9B. Place your original pattern piece for size 38 on top as a guide to draw in a new curved line from the bust to the waist and down to the hip. Then cut along that line.
9C. Here I've placed my original size 38 (for some reason I can't fathom I chose this awful brown colored paper) on top of my new adjusted size 38 (the white paper). As you can see it is now larger at the bust.
Note that even though the arm scye is a bit different, it's still the same length, so you can still sew the size 38 in sleeves.

There! The Full Bust Adjustment is all done. Remember to adjust the length on the back bodice as well, so that they will still match.
SBA
We've already done steps 1-4 above. Now let's continue with step 10 below.
10. Calculate
For this example we've chosen to work with size 38, whose upper bust measurement is 83 cm. For this SBA we will remove 2 cm in total from the full bust, and since the front piece represents half of the front, we’ll take half of that measurement: 1 cm.
11. Pivot
A. Draw a new vertical line to the left of your bust apex, exactly 1 cm (or how much your removing) from the vertical line you cut up to the apex.
B. Slide the side piece towards the line you just drew so that it's completely in line with it. The upper side piece will overlap the lower side piece a bit.

12. Adjust the length
Now let's adjust the length by removing length from the center piece. Draw in a new curve and cut off excess.

13. Adjust the waist
On your second piece of paper (mine is purple), draw a new line from after the bust apex to meet the original bodice's waist and hip lines.
In the picture below: white and purple paper is my modified size 38. The brown paper is my original size 38. As you can see, my new size 38 with an SBA is smaller over the bust, but has the same waist and hip width. Length is a bit shorter, and the arm scye has a new shape (but same length, so you can use the same sleeve pattern).

There! The SBA is all done. Remember to adjust the length on the back bodice as well, so that they will still match.