Gathering is such a pretty detail on garments but it can be so frustrating! It can be difficult to get the gathers evenly distributed and it can take a lot of time.
I want to share with you a way to make it faster, more fun and more good-looking. Sounds good right?! For this you do need to use a serger (overlocker). I know not all of us have a serger so at the end of this post I'll also share my best tips for gathering with a sewing machine. But for know, let's focus on gathering with a serger!
You can gather with the standard foot, you just need to adjust some settings. But there is also a gathering foot you can use, it's super cool, and can for example let you sew two layers of fabric and only gather one of those layers.
I'm using a standard foot, and I prefer to do this with 4 threads but it's possible also for 3 threads (removing the right needle).
Gathering fabric - my project

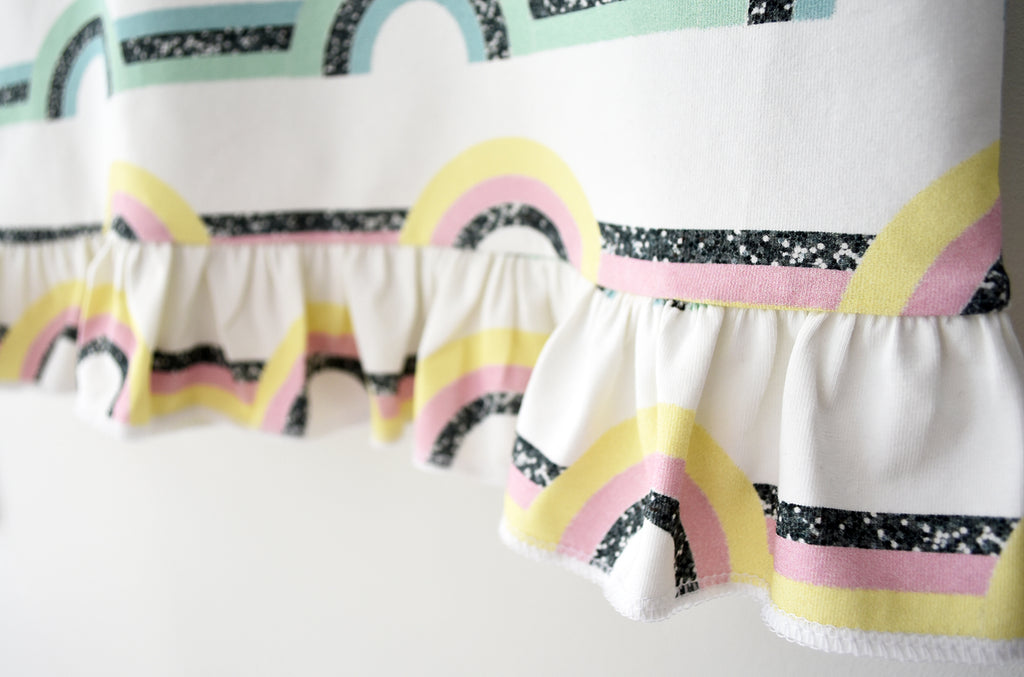
This is the bottom of a dress I'm sewing. I want to attach a strip of fabric to it that's going to be gathered. Measuring the width of the dress' bottom, I see that it's 43 cm (x2). I want my gathered strip to be twice that length. So I cut out two strips of fabric that are 86 cm long, and 7 cm wide.

I sewed together the short sides of my fabric strips. I also overlocked one of the long edges, instead of hemming. I was lazy ;)
As you can see it's approximately twice as wide as the dress. Now time to serge!
Serger settings for gathering fabric
These are the settings I use for my Brother 1034D Serger. They were perfect when I gathered a strip of fabric that was twice the length of the dress. After I've sewn, I can pull the needle threads to increase the gathering, but it's easier to get it right from the start.

Left needle: approx. Little over 8
Right needle: approx. Little over 7
Upper looper: 4
Lower looper: 4
The more you increase your needle tension, the more your fabric will gather.

Differential feed: 2.0 (the highest setting), or a little lower depending on how much you want to gather.
Stitch length: You can also bring your stitch length up to 4, that would also increase your gathers.
Stitch width: Keep the standard setting, 5.
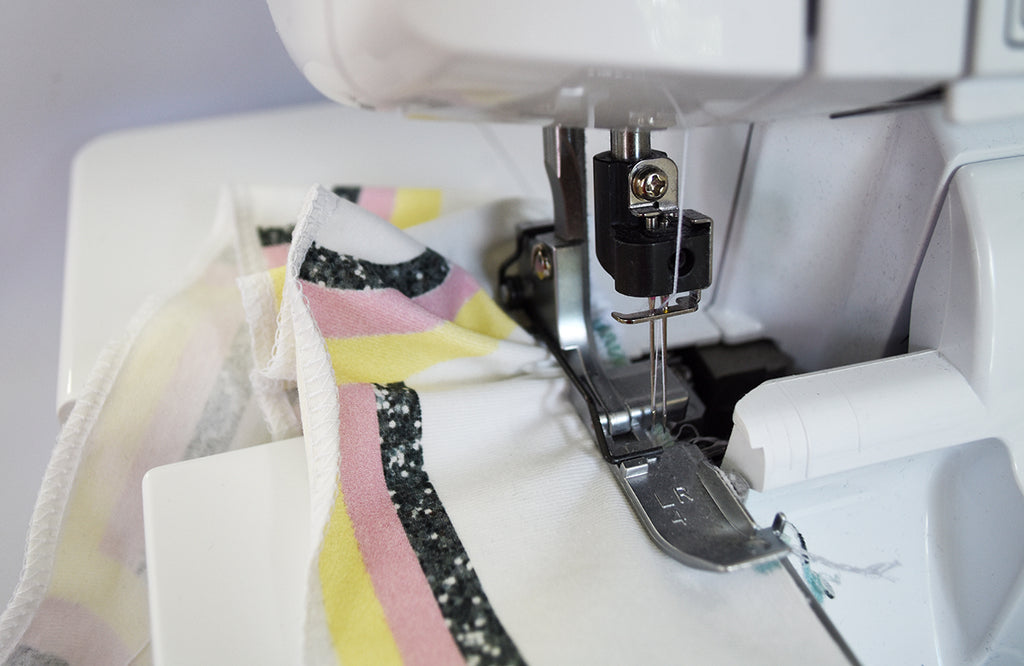
Now you can go ahead and sew and watch how those beautiful gathers are forming on your fabric! :)
I recommend you to start experimenting with a few strips of fabric. Cut them to for example 40 cm long and then try different settings and measure how much shorter they are after you've sewn. Sometimes you might want a lot of gathers, other times just a little bit. So play with it and get to know your serger!
Gathering fabric with a sewing machine
I promised to share some tips for those who are gathering with sewing machines so here goes!
- Use a straight stitch and the longest stitch length
- Sew two parallel rows of stitches within the seam allowance. If you have 1 cm seam allowance, you can for example sew these stitches 4 and 8 mm from the edge.
- Leave long thread tails at the start and end of your stitch.
- Pull the bobbin thread tails to make the fabric gather. If you want to you can use another color for the bobbin thread to make it easier for yourself to see which threads to pull. Do this from both ends so you don't end up pulling the threads out.
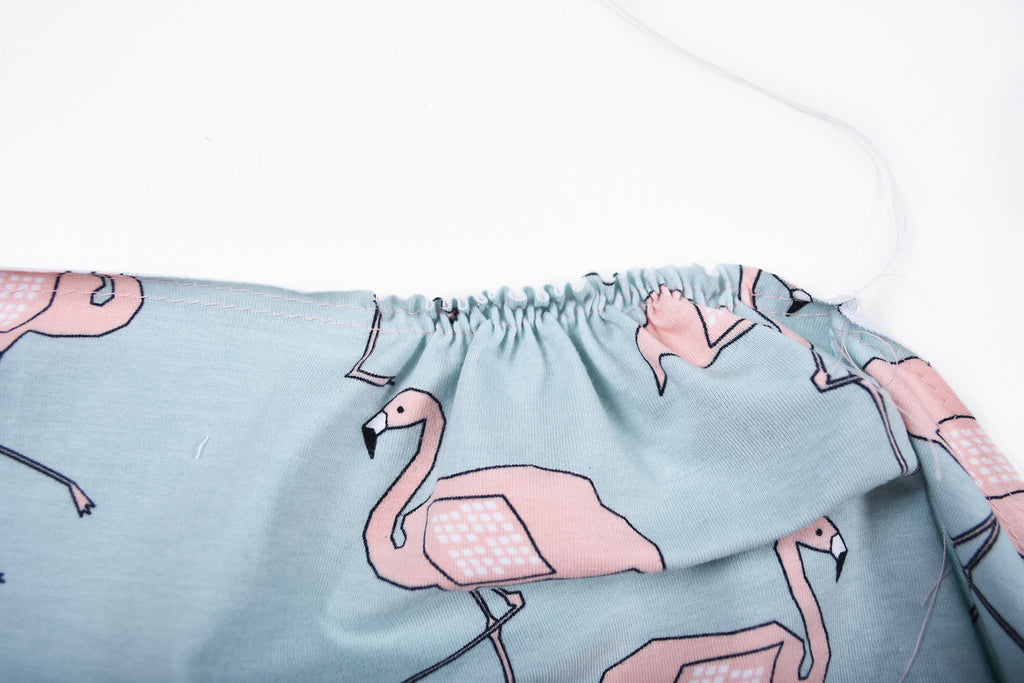
- When you've gathered your fabric enough tie the thread tails together (all of them). After this, you can make sure to evenly distribute the gathers.
- Optional: If you want to you can sew over the gathers with a normal stitch, just to secure everything.
- Pin the gathered fabric to wherever they're supposed to be sewn, and sew together. Which stitch to use depends on what you're sewing and what kind of fabric you have.
- Press the gathers. (Simple yet effective).
Are you eager to try some gathering?

Our patterns Amelie and Smilla have a gathered skirt. Lilly & Liam has a gathered peplum. And Victoria has gathered flutters.
Good luck with your gathering!
Do you have any other tips? You're welcome to share them in Comments.
Note, these beautiful fabrics are from amazing Swedish fabric designers:
The white fabric with rainbows: WCollection Fabrics.
The flamingo fabric: Elvelyckan Design.


