IT STARTS WITH AN IDEA
I do have a “pattern ideas list”. Thoughts I’ve had before, or suggestions from customers. I also make surveys every now and then so I have an idea of what YOU want. It helps if I know if the majority of my customers want a pattern for knit fabrics or woven fabrics, for example. Or if you want easy and quick garments, or more challenging ones.
Most of the time I have an idea that “after this pattern, I’ll make that one”, but I never decide on this type of stuff. When a pattern is done and it’s time to start the next, I want to also think about what I want right now, what do I feel like making?

DESIGN
This is a really creative phase. Maybe I know sort of what kind of garment I want. I sketch, look for ideas online, look at my own or my kids’ wardrobes for ideas on details - but also put a lot of value in other activities that boost creativity.
This stage is not just about finding the garment’s design. It’s very much about testing what type of fabrics would be most suitable. Sometimes I’ve actually started with a type of fabric - and then thought about what kind of garment would be suitable.
Should the garment be easy and quick? More challenging? For knit or wovens? For women or kids? Any “new” details or sewing techniques I want to introduce?
DRAFTING - SEWING - DRAFTING - SEWING
To be honest, this phase is the most challenging for me I think. This is where I know what type of garment I want to make and I create a pattern for it. If it has lots of pattern pieces and time-consuming sewing techniques this takes a lot of time. Most of the time I start drawing on my computer - I’m very digital in my pattern drafting - but for certain pattern pieces I instead draw on paper.
So I draft a pattern, sew, evaluate. Make changes, sew, evaluate… On an on :) Sometimes I go back a bit to my previous step and revise the pattern’s design.
I always start with my own size (if it’s a women’s pattern), or one of my kids’ sizes (if it’s a kids' pattern).

MAKING A COMPLETE PATTERN
When I’m finally happy with the pattern in my base size, I draft it in the other sizes as well. Usually this means the smallest size, the largest size and one more (other than my base size) in between. Then the rest of the sizes are graded between them. This is all done on my computer.
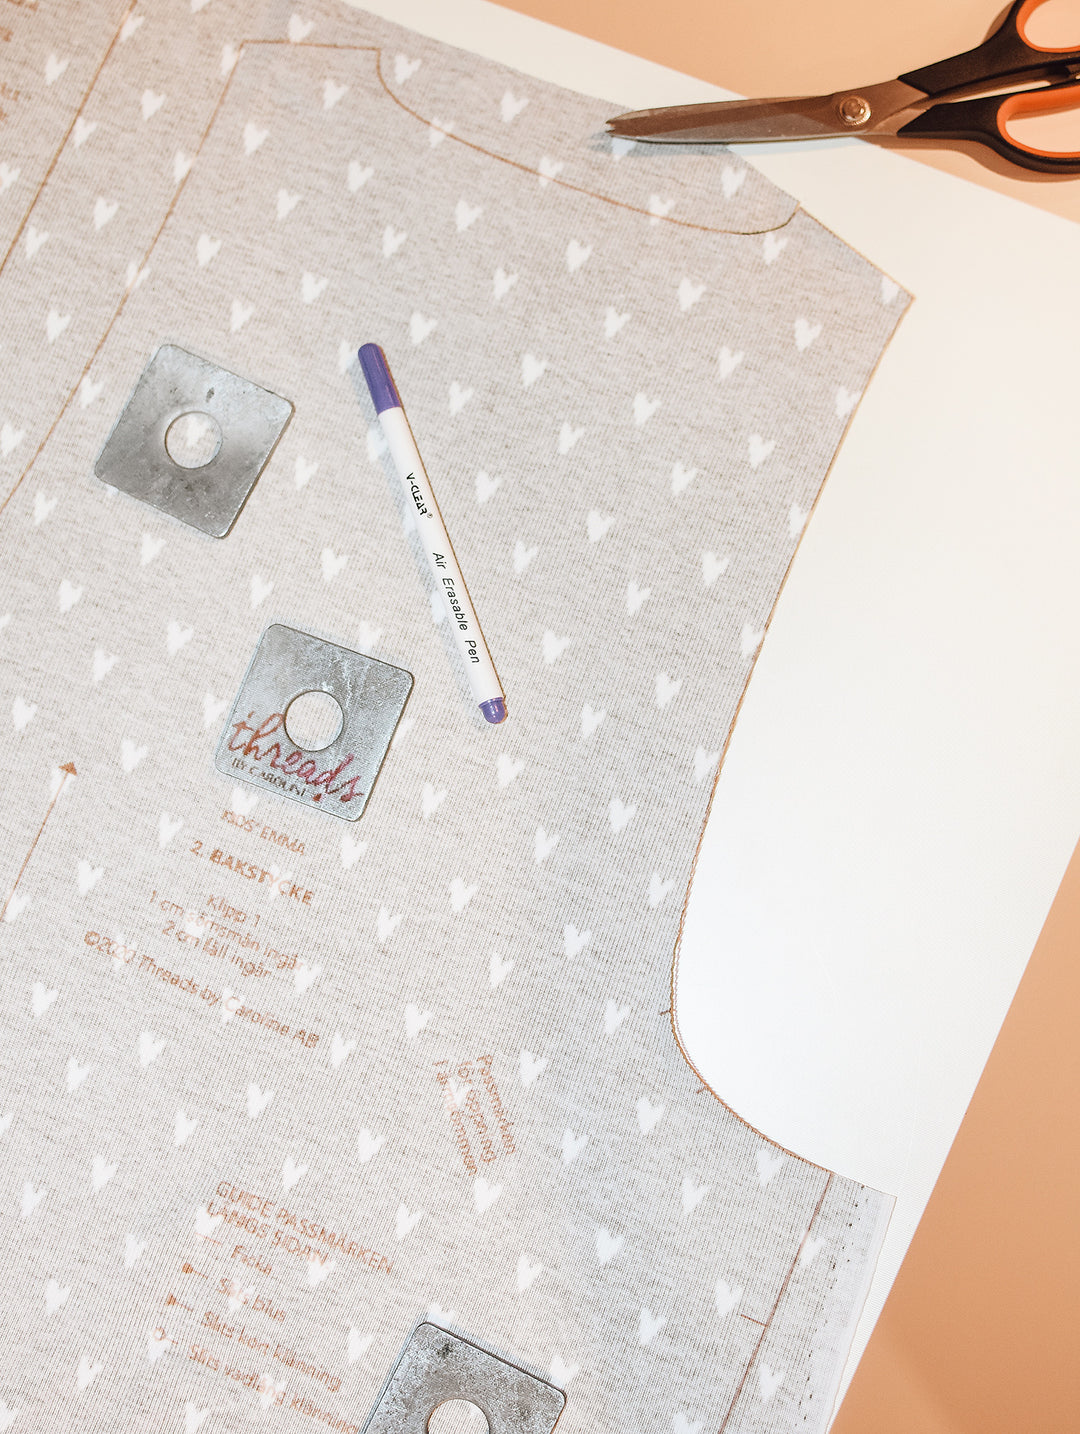
I also add seam allowances on all pattern pieces - this is actually quite time consuming and super important! So many errors can be made when adding seam allowances - which is why I want to do it for you. I want the seam allowances to be totally correct so that the garment comes out perfect.
I also photograph each step in making the garment in my own photo studio. I write instructions and try to be detailed. I believe that if I make it easy to sew for you - then you’ll have much more fun sewing :)

PATTERN TESTING
I now have a complete pattern and sewing instructions. Now I contact my team of pattern testers, about 70 women from mainly Sweden but also Norway, Finland, the Netherlands, Belgium, France, Germany, Ireland… even further away like Australia and USA. It is so much fun collaborating with these creative women! I show them the pattern’s design and ask if they want to test it, and which variants they want to test. They send me their (or the kids’) body measurements, and then I make sure to have approx. 30 testers so that each size is tested by at least two people.
I send them my test pattern and they have 2 weeks to sew for themselves or their kids. They also answer questions from me and provide detailed feedback on lots of aspects and send me their fit pictures.
(Did you know I publish many of their photos on my blog? Check them out here).

FINALIZING
After the pattern test I have a chance to evaluate my pattern and the instructions again. Most of the time this means making a few small changes. So going back to my original 4 sizes, making changes, grading and adding seam allowances again. I love this phase and I’m always super motivated during this. Many times I’ve shown pictures of the coming pattern in my newsletter and social media - and getting feedback from you, my customers, really motivates me :)
When the pattern is done I also need to finalize all formats. A PDF pattern is made in 3 formats: A4/letter, A0 and projector optimized. Then there’s a print version too. And the sewing instructions have a PDF version and a print version. I write all instructions myself both in Swedish and English.
Then there’s adding everything to my website, and also marketing. I can’t expect to sell many patterns unless I use my newsletter and social media and tell you there’s a new pattern out there :)
A few weeks after the PDF pattern release I receive all the printed patterns from my printing house. Then I need to prepare everything: placing one set of instructions together with a pattern and packing.

Phew! That’s about it!
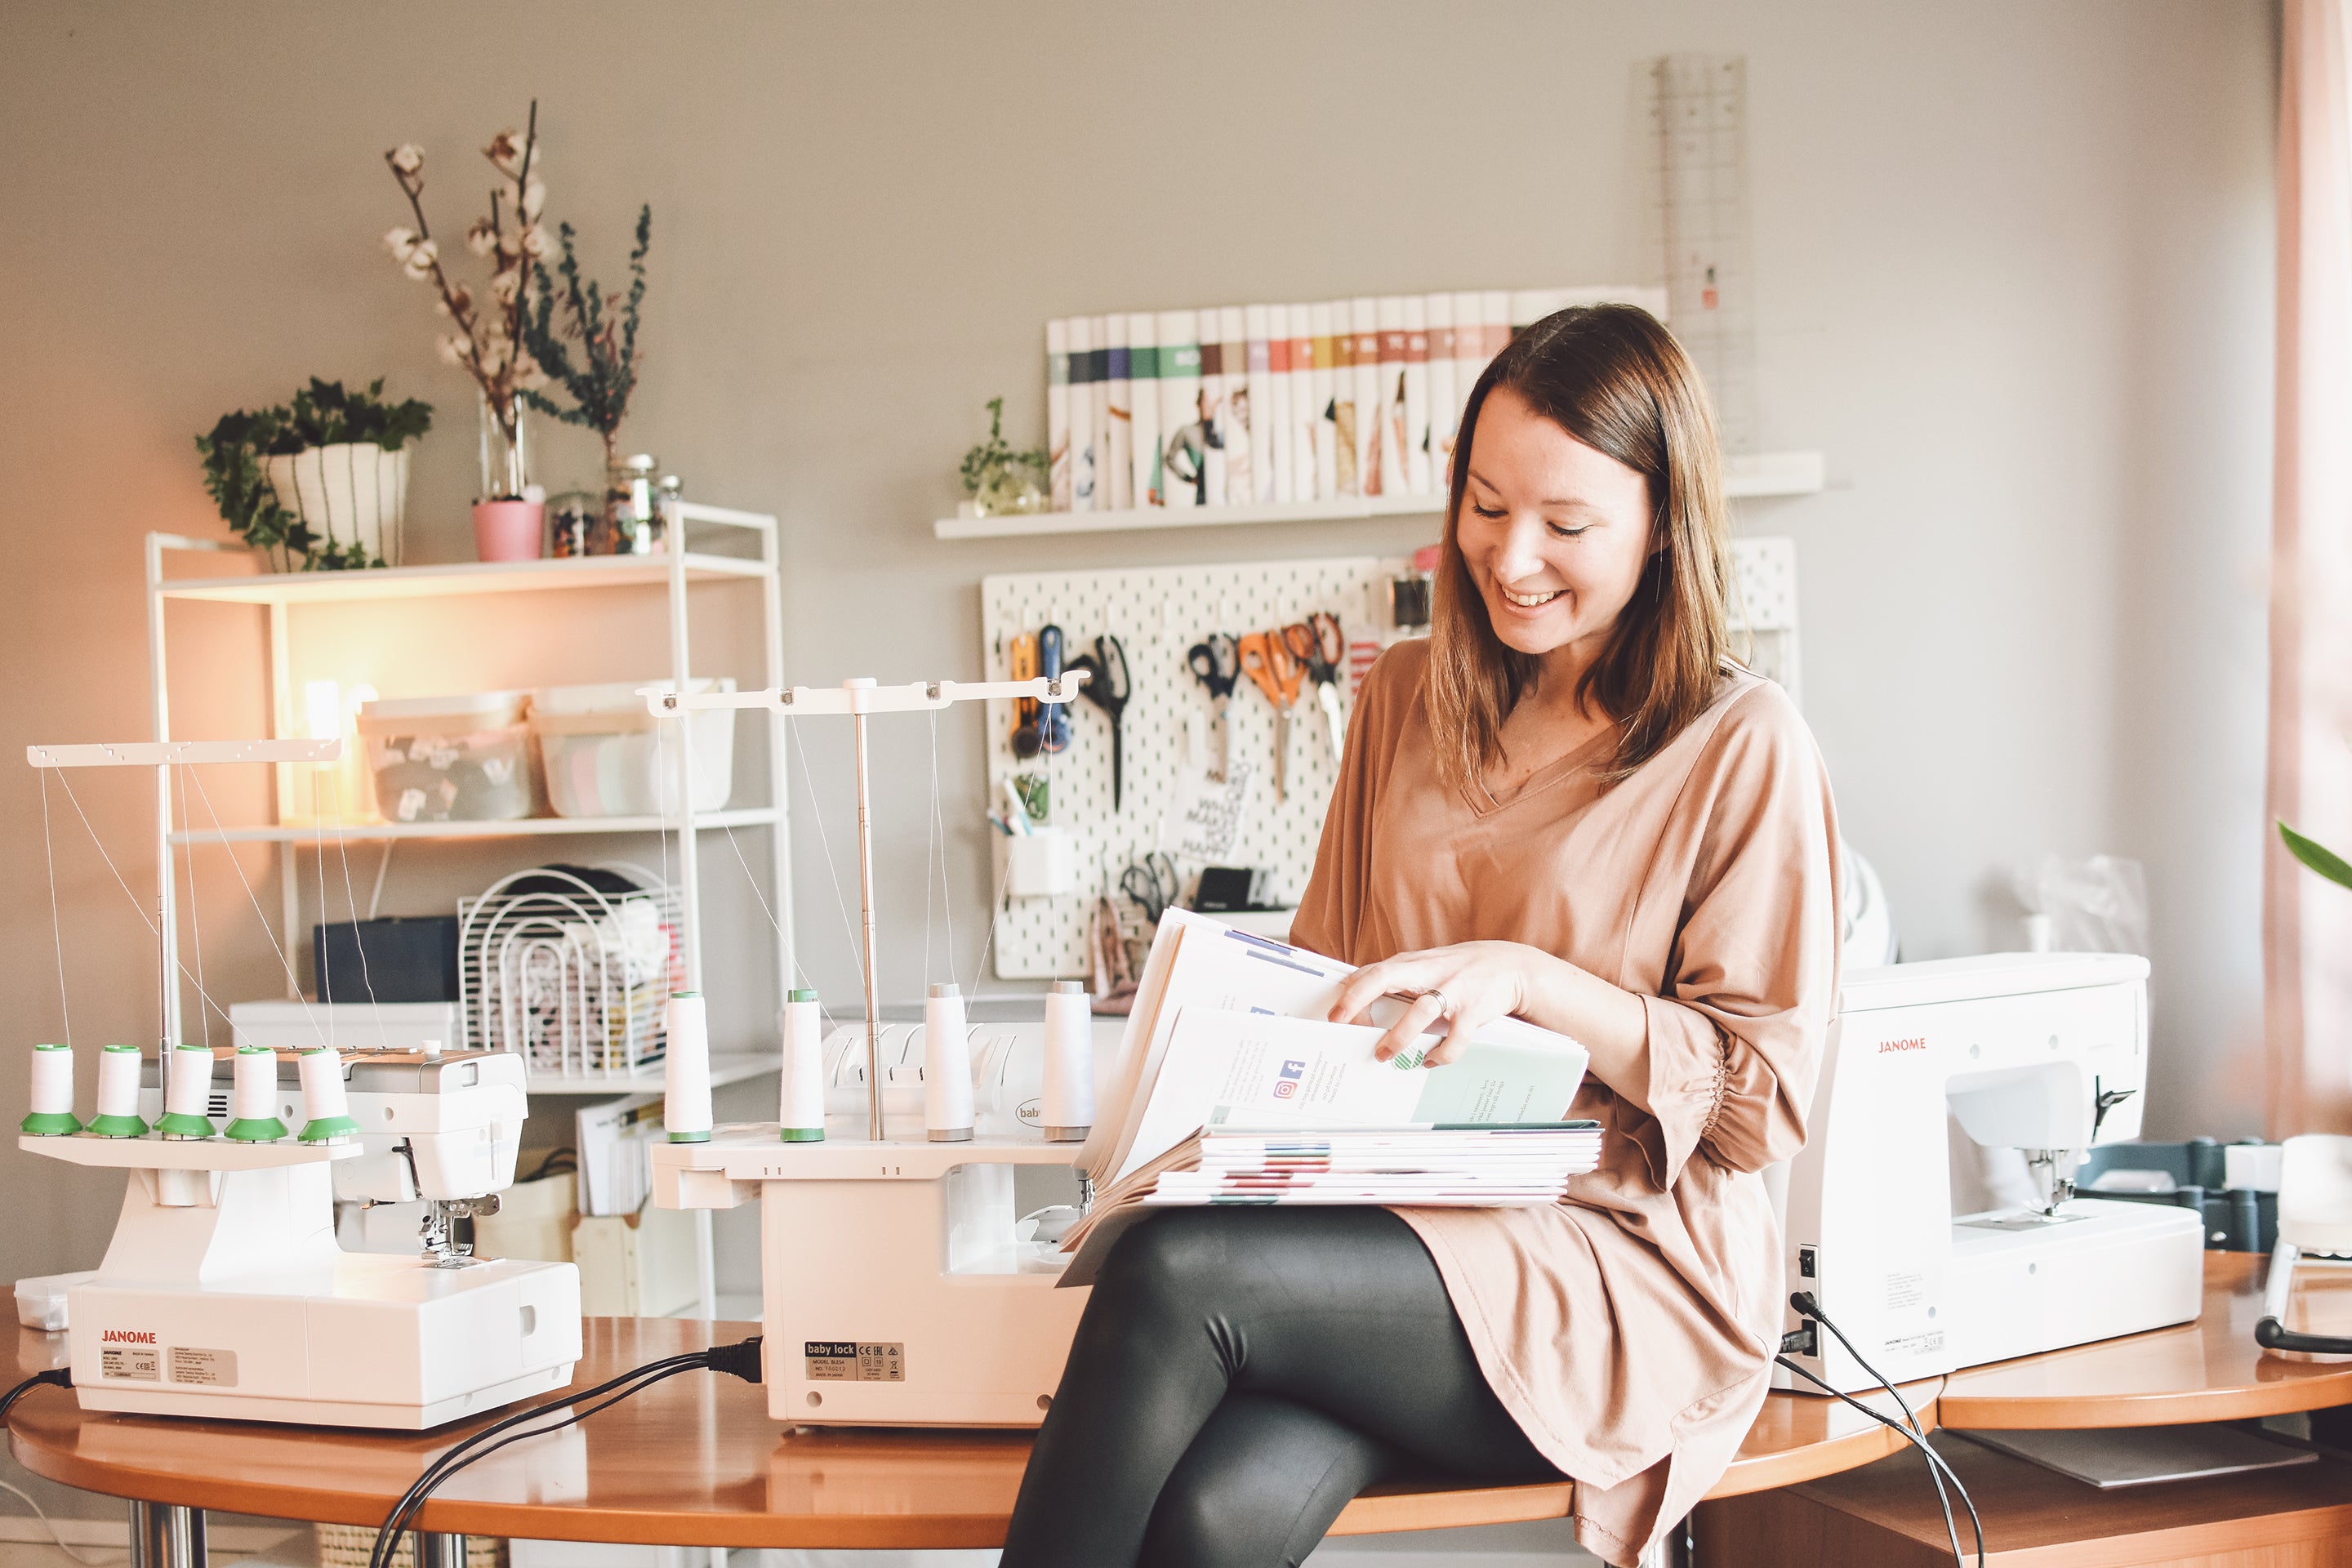
Making a pattern from start to finish :) I can’t spend my full working time on this - being alone in a company means doing everything yourself so I also spend a lot of time daily on packing/shipping orders, customer service and marketing (updating on social media, sending newsletters etc).
I do have help from some people. My husband is my sounding board and will almost daily engage with me on various aspects of the business. And I do also have an accountant who helps me with many financial aspects. And of course, my pattern testers are SUPER helpful and valuable.
Do I love it? OH YES! I’m incredibly thankful for Threads by Caroline and that I’m able to do this! It’s so much fun, creative, versatile and challenging. When I look at all the patterns I’ve made I can hardly believe it. I’ve grown a lot these years and I’m constantly learning new techniques, not just in drafting and sewing but all other aspects of running a business.
If you’re still reading, thanks for your time <3
